


這是年初我設計用於紀錄交大建築所十週年展[註1] 的Time-lapse [註2] 間歇性攝影滑車,製作所投入的心力不輸之前的CAD/CAM[註3]作業,看來我有點雷切中毒了,設計完東西丟給機具輸出的感覺真好XD。
直接先看Final成果影片吧。 *註[1] 2011 交大建築展 DECAED ONE
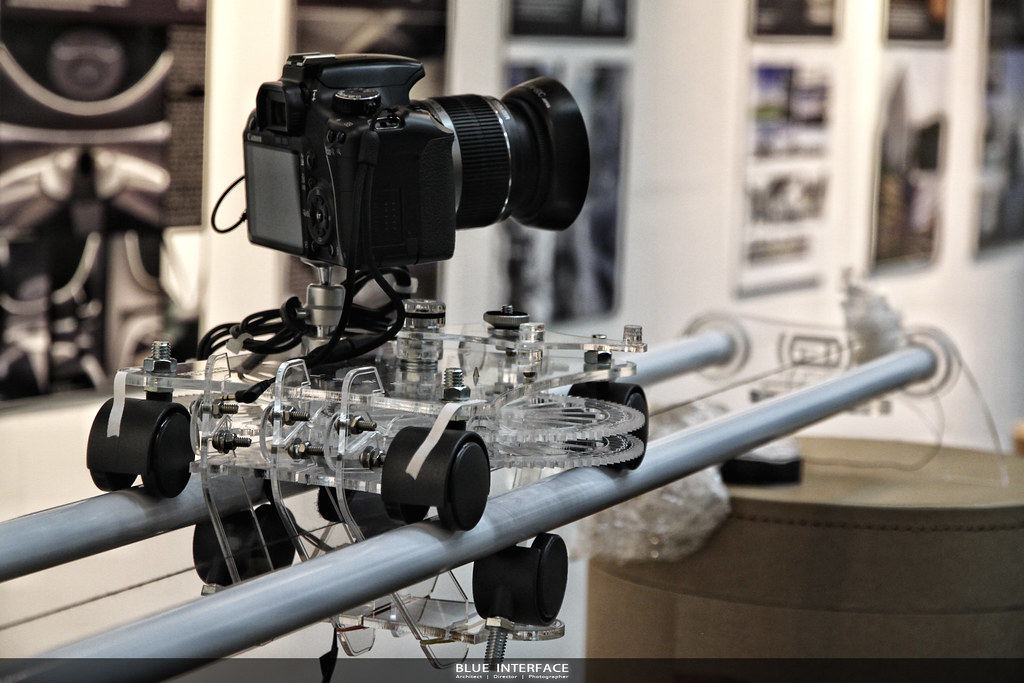
有好的展出內容,也需要好的佈展記錄,幕後的Time-lapse攝影滑車與450D單眼,10秒拍一張、拍一趟耗時90分鐘、位移180cm、相機鏡頭角度自轉60度。Time-lapse以前用腳架定鏡玩過幾次,也是時候嘗試不一樣的動態Time-lapse運鏡。

也有好的展場規劃。

也有好的導覽解說。

也有好的專題講座。

還有敬業的工作人員,至今還是很訝異大家的合作效率,僅花兩天就完成佈展。

耐操好用的450D <

再次證明了雷切萬能,Time-lapse軌道滑車特寫

萬用紙管


引略可見花窗GAGA字樣

CAD/CAM練習小品


付諸實用的 Flora Crystal Lamp/佛洛拉燈

佈展後的交大摩斯漢堡餐會

以下附加Time-lapse軌道滑車的製作過程。首先放樣分解後的3D物件,以慢速馬達透過變速齒輪組去帶動滑車的自走、鏡頭自轉和連拍的間格。或許會問為麼不用Arduino 等IC晶片來控制全部動作不是來的更方便?但僅以電子電路去設計的機具,也失去了那傳統機械齒輪連動的物理質感.....哈我承認其實是為了雷切而雷切,齒輪上面多餘的雕花就是證據XD

先從螺絲的組構開始,要讓機具能拆解以便日後更換齒輪組。

然後開始雷射切割


0.5cm的壓克力也不是LaserPro的對手


熱騰騰的齒輪組出爐

拆模洗淨


陰乾

一旁的零件活像一隻小兔子,Oh~彈塗魚

沒有六角螺帽板手就自己切一個


安裝慢速馬達

上減速齒輪組


旋鈕跟腳架墊片

兩個紅色的雙向開關、對焦紐,仔細找可以看到綁著鐵絲的齒輪跟黑色的微動開關,來控制快門線

完成,不用RED-ONE攝影機,人人都可以拍Time-lapse 4K影片。
1 Comments
很有質感
不過壓克力可能用久了容易碎裂
讚